| Making a Mold of a Life Size Clay Figure
|
Moldmaking is one of the services that I offer. This type of mold is not intended to produce "multiple originals" much less support "low volume production" which would require different methods and materials. I'll write another article on the subject of commercial "production molds" later.
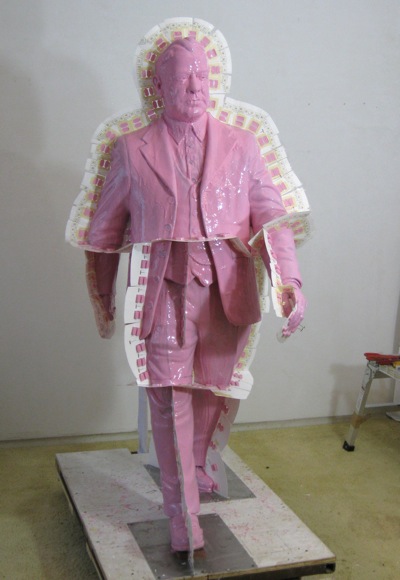
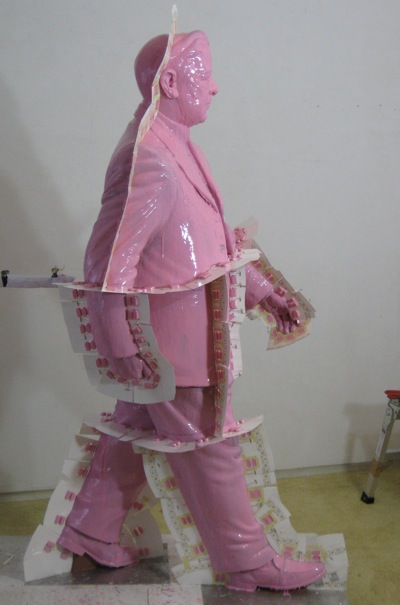
This mold making project involves making a mold that will be used by a bronze art foundry to start the process of casting one traditional bronze sculpture. The life-size original clay model is shown below, before moldmaking begins.
|
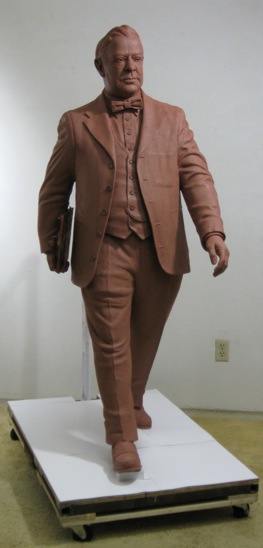
The finished clay model ready for moldmaking
|
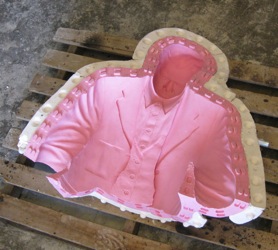
| In the end, the completed rubber mold will consist of several sections that fit together precisely as shown below. This is not the final mold that receives molten bronze. It is rather, the first major step. The rubber mold is usually made by the foundry at their facility. I do it myself at my studio for various reasons, not the least of which is it saves me from having to transport the clay model.
|
|
|
|
Top-most section of the finished, dissassembled mold.
|
|
What is this mold for and how is it used? Bronze casting is a process consisting of many steps, but the first step is to produce in wax what you want to produce in bronze. This is the wax pattern that the foundry will use in the lost wax method of bronze casting. This is a hollow wax replica of a shape that you intend to cast, in this case the shape of a life-size, suited man.
A bronze like this is almost always cast in a number of parts and then welded together. So, it helps if the mold is designed along those lines, making the whole process as straightforward as possible. It is a good idea to coordinate this with the foundry and know in advance, how large these sections can be. If the foundry needs to depart from this plan for some reason, they have the means to do so.
This type of mold will likely be used only once. It is a provisional mold but still, it must record the surface as precisely as possible in order to produce a wax that requires as little re-work possible. The rubber is applied in coats until a sufficient thickness is achieved. The face coat - surface of the rubber that comes in contact with the wax the first coat applied to the original model, is naturally the most important coat. A more rigid mother mold made out of plaster in this case keeps the rubber from flopping around. Other materials may be used for this. Plaster is inexpensive but heavy and rigid. Fiberglass reinforced plastic (FRP) is lighter, thinner, more flexible and generally easier to deal with. Naturally, FRP is more expensive.
Before any rubber is applied, the entire mold is thought-through carefully. Part lines - the lines that separate the parts of the mold are determined. Anything that would make the rubber difficult to remove from the original model is noted. A method is determined to deal with all undercuts. The rubber mold may only be 3/8 of an inch thick but the mother mold that supports it may be much thicker, depending on the material used. What is the best material for the mother mold in this case? At what angles will the mother mold come off? Will you need to remove them in a certain order? Will the mother mold be strong enough to easily support its own weight? Where should the mother mold be reinforced? Its not rocket science, but you do have to reason it out.
|
The "face coat is applied to the clay mold. Then "fins" are applied to predetermined "part lines".
This is the first step in preparing to make rubber sections that "key" together.
|
The fins from another angle
|
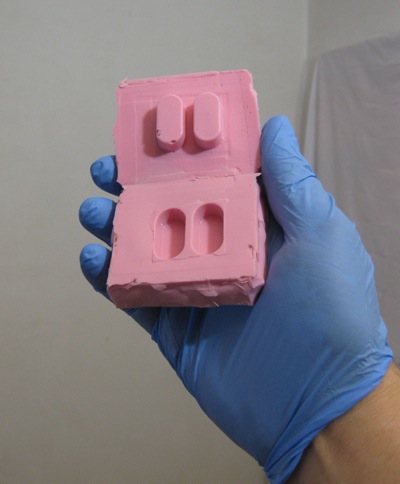
When the rubber is complete, the two rubber sides will "key" together like this
and be hidden from view until taken apart.
|
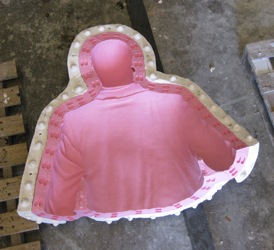
| You have seen the rubber keys that ensure that rubber sections align with each other - now hidden from view. There are other rubber keys, that project outward as shown below. These ensure that the rubber is fixed in relation to the mother mold.
|
The rubber keys that project outward will fit into the plaster mother mold.
|
| In this case, I decided to use tin-based silicone rubber with a shore hardness of 30 that brushes on easily for the rubber mold. Silicone rubber has the advantage of not chemically adhering to anything but itself. This is a very useful feature when making those small keys along the edge of the rubber. Tin cure silicone is a less expensive type of silicone. The more expensive types have a much longer library life or shelf-life, but that is of no concern in this case. The entire face coat will be carefully applied with acid brushes and the rubber is designed to be used in this way. Additives are used to accelerate the cure and thicken the coats to save time. Curative accelerators greatly reduce the shelf-life of the mold, but that doesnt matter in this case. I also needed to make rubber molds of other items not shown here for the purpose of casting those shapes in urethane resin. Silicone rubber is a good choice for that since it does not require the use of a release agent. Theres no way the resin will stick to it.
|
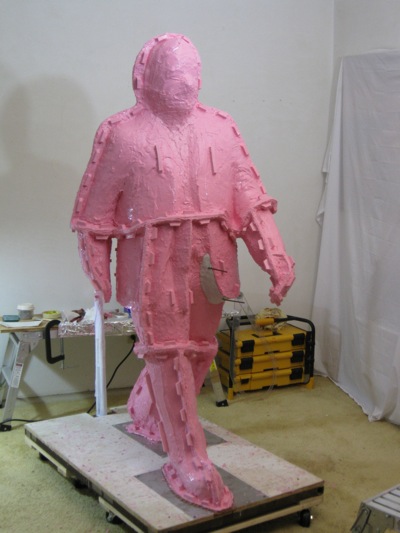
The completed rubber mold.
|
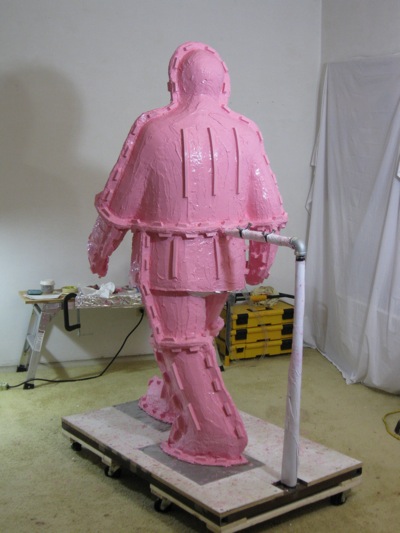
The completed rubber mold.
|
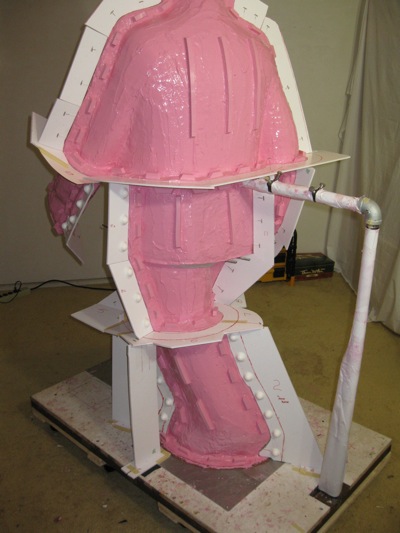
In this case, I decided to use white hydrocal (a kind of super-plaster) in combination with open-weave burlap for the mother mold. I used three-quarter inch emt tubing to strategically reinforce the plaster in those places that were most likely to break. There are additives you can mix into the hydrocal to increase strength but they also require a more robust air ventilation system than I had in my shop at the time so I decided not to go that route, I think correctly. The mother mold is thickest along the edges, less so on the interior planes where thickness drops down to half an inch or so.
And of course, the semi-spherical shapes along the part lines of the mother mold "key" or "register" one plaster section to another.
|
Preparing to apply the plaster mother mold.
|
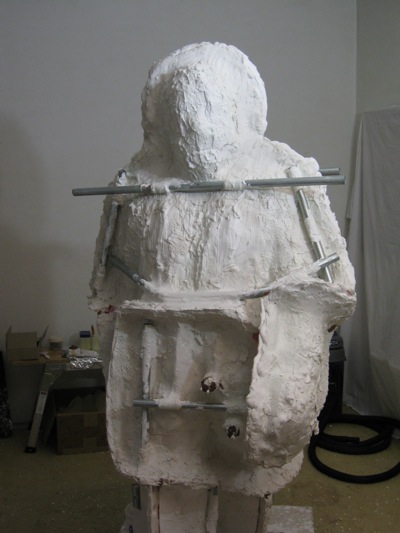
The plaster mother mold, nearly complete, with reinforcements and handles.
|
In the end, I had a 15 part mold for the life-size suited figure and a separate mold for the item carried in its right hand. Once everything was removed from the original clay model, the hydrocal is drilled and machined to receive bolts. This particular method produces heavy provisional molds but the foundry is used to handling items like this.
The entire mold fit (with some difficulty) into my small truck for delivery to the foundry. In the unlikely event that I lost the mold due to a traffic accident, I would still have my original clay model as backup.
|
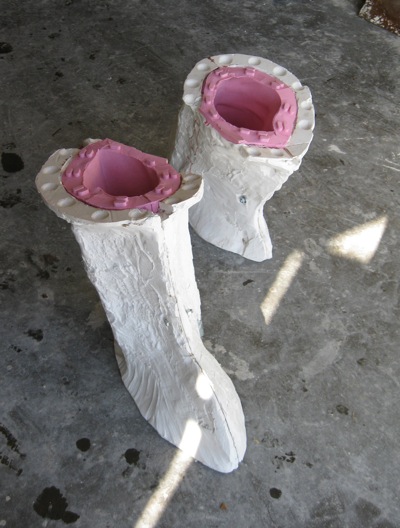
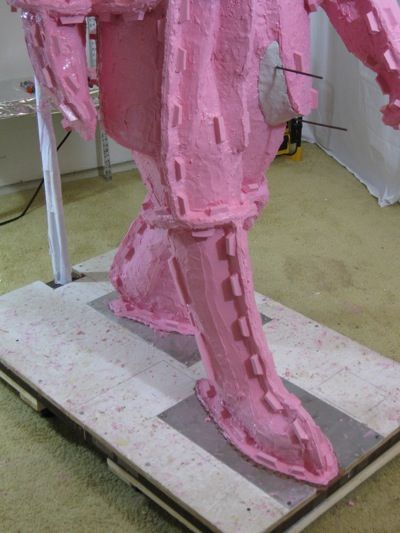
The completed, delivered mold.
The lower legs and feet.
|
The completed, delivered mold.
The right hand and forearm.
|
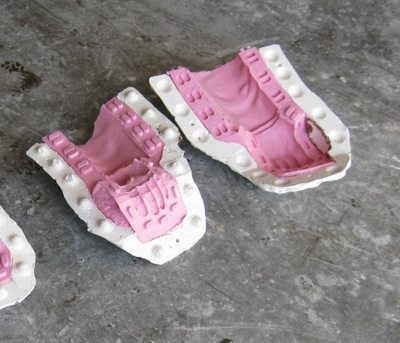
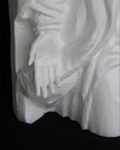
The completed, delivered mold.
The left hand and forearm.
|
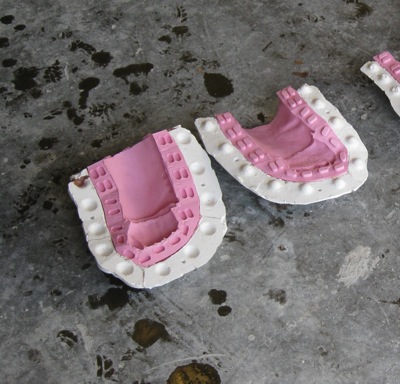
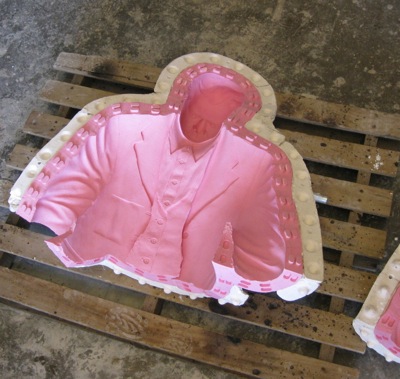
The completed, delivered mold.
The 3-piece lower torso.
|
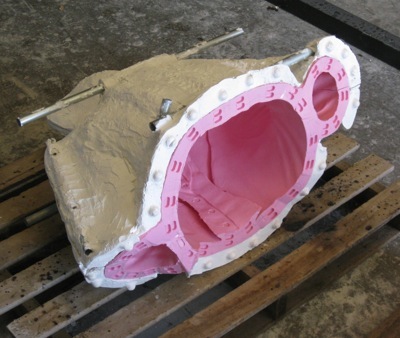
The completed, delivered mold.
The upper torso, head and upper arms.
|
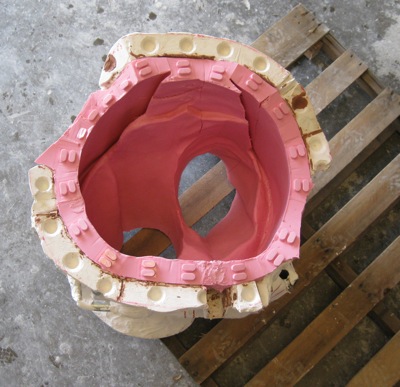
The completed, delivered mold.
A look inside the upper torso.
|
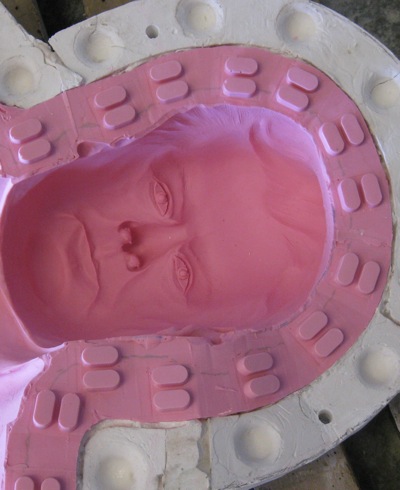
The completed, delivered mold.
A look at the negative form of the face.
|
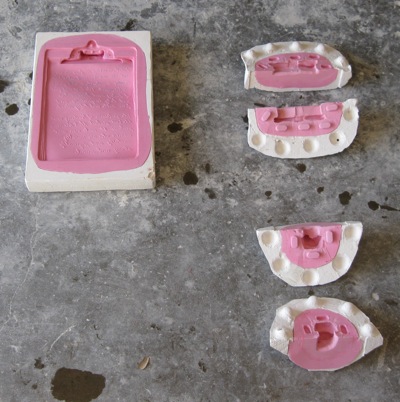
The completed, delivered mold.
Small molds: The clipboard, bowtie and fingers of the right hand.
|